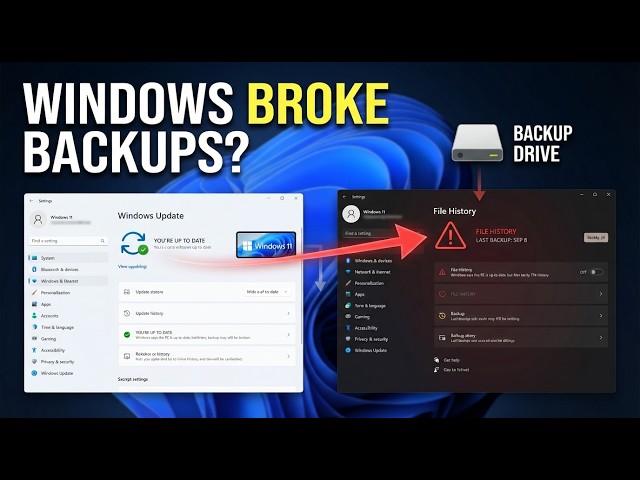
Windows 11 File History backups often stop running silently after a cumulative or feature update. You may see a “Your File History drive was disconnected” warning, or backups simply stay stuck on an old date. This guide shows six tested fixes to repair broken services, reset corrupted configuration files, and get automatic backups working again.
Why Windows 11 File History Stops Working After an Update
Windows updates frequently restart background services, reset USB power policies, and alter indexing permissions. Because File History depends directly on the Windows Search service and a stored XML catalog, even a minor update glitch halts scheduled runs.
Additionally, feature updates can reassign your external drive’s letter. When that happens, Windows cannot locate your previous backup target. Worse yet, File History rarely shows a pop-up alert when a scheduled backup fails. Checking the Last copied timestamp inside Control Panel is the fastest way to confirm the problem.
1. Restart the File History and Windows Search Services
First, verify that both required background services are active. Recent Windows 11 patches sometimes leave the File History service stopped or switch Windows Search to a disabled state.
-
Press Win + R, type
services.msc, and click OK. -
Scroll down and double-click File History Service.
-
Set Startup type to Automatic, then click Start if the service is stopped.
-
Click Apply and OK to save the change.
-
Next, locate Windows Search in the same list and double-click it.
-
Confirm Startup type is Automatic (Delayed Start), then click Restart or Start.
After restarting both services, open Control Panel > System and Security > File History and click Run now. If the backup still refuses to start, move to the next fix.
2. Reconnect Your Backup Drive and Reassign Its Drive Letter
Sometimes Windows assigns a new drive letter to an external hard drive after an update reboot. As a result, File History keeps looking at the old path and fails.
-
Unplug your external drive and connect it directly to a primary USB port on your PC. Avoid unpowered USB hubs.
-
Right-click the Start button and select Disk Management.
-
Locate your external backup drive, right-click its partition, and select Change Drive Letter and Paths.
-
Click Change, select the original drive letter you used before the update, and click OK.
-
Finally, open Control Panel > System and Security > File History > Select drive, highlight your drive, and click OK.
Wait a few seconds, then click Run now to test the connection.
3. Reset the Corrupted File History Configuration Folder
If reconnecting the drive fails, your local configuration files are likely corrupted. File History stores its catalog and schedule inside a hidden AppData folder. Resetting this folder clears update-related glitches without deleting your existing backup files on the external drive.
-
Open Control Panel > System and Security > File History and click Turn off.
-
Press Win + R, type
services.msc, right-click File History Service, and click Stop. -
Press Win + E to open File Explorer, paste this exact path into the address bar, and press Enter:
%LocalAppData%\Microsoft\Windows\FileHistory -
Right-click the Configuration folder and select Rename.
-
Name the folder
Configuration.oldand press Enter. -
Return to Services, right-click File History Service, and click Start.
Next, reopen Control Panel > System and Security > File History and click Turn on. Windows creates fresh configuration files and resumes backups immediately.
4. Rebuild the Windows Search Index and Check Excluded Folders
Because File History tracks file changes through the Windows Search index, a broken index after an update blocks new backups. Similarly, a missing folder path or a OneDrive sync conflict can stall the scan halfway through.
-
Open Control Panel > Indexing Options and click Advanced.
-
Under the Troubleshooting section, click Rebuild, then select OK.
-
Wait for indexing to finish in the background. Meanwhile, open Control Panel > System and Security > File History > Exclude folders.
-
Remove any folders that no longer exist on your PC, then click Save changes.
If you keep folders inside OneDrive with Files On-Demand active, right-click those folders and choose Always keep on this device. Otherwise, File History skips cloud-only placeholders.
5. Check Controlled Folder Access in Windows Security
Security updates occasionally tighten ransomware rules and block File History from accessing protected user libraries. Allowing the backup process through Windows Security fixes this conflict quickly.
-
Open Settings > Privacy & security > Windows Security.
-
Click Virus & threat protection, scroll down to Ransomware protection, and select Manage ransomware protection.
-
If Controlled folder access is enabled, click Allow an app through Controlled folder access.
-
Select Add an allowed app > Recently blocked apps and look for any File History or
fhmanagew.exeentry. -
Click the + icon beside the blocked item to allow it.
Alternatively, toggle Controlled folder access off briefly and click Run now in File History to confirm whether Windows Defender caused the block.
6. Repair System Files and Inspect Backup Logs
When all settings look accurate but backups still fail, damaged Windows system files from the recent update are usually responsible. Running DISM and SFC repairs missing components automatically.
-
Press Win + S, type
cmd, right-click Command Prompt, and choose Run as administrator. -
Type
DISM /Online /Cleanup-Image /RestoreHealthand press Enter. -
Once that completes, type
sfc /scannowand press Enter. -
Restart your PC after the scan reaches 100 percent.
After rebooting, run a manual backup from Control Panel > System and Security > File History. If an error still appears, open Event Viewer > Applications and Services Logs > Microsoft > Windows > FileHistory-Engine > BackupLog to check the exact error code and affected folder path.
Once File History completes a clean manual run, open Advanced settings inside the File History window and confirm your preferred schedule, such as Every hour or Daily. Checking your backup drive’s free space once a month keeps older versions rotating properly and ensures future Windows 11 updates never leave you without a current copy.