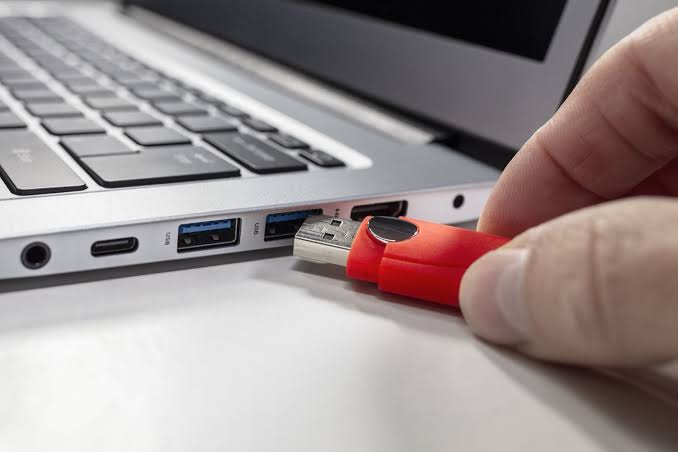
An external SSD that disconnects randomly on Windows 11 USB-C ports interrupts file transfers, freezes File Explorer, and triggers repeated USB chime alerts. You may also see “Location is not available” errors mid-copy before the drive reconnects seconds later. This guide walks through six tested fixes to stabilize USB-C power delivery, repair controller drivers, and stop sudden drive dropouts.
Why External SSDs Disconnect Randomly on Windows 11 USB-C Ports
Portable NVMe SSDs draw significantly more electrical current during sustained reads and writes than basic flash drives. When a laptop tries to save battery or a cable drops voltage under load, the drive momentarily loses power and resets its connection.
Windows 11 also enforces strict power-saving policies by default. Features like USB Selective Suspend and Root Hub power management can cut power to a USB-C port during brief pauses in activity. Meanwhile, outdated chipset or USB4 controller drivers frequently trigger link resets after major Windows updates.
Because physical cable faults and Windows power rules produce identical symptoms, testing the physical connection first saves time before adjusting system settings.
1. Replace the USB-C Cable and Bypass Unpowered Hubs
Many random disconnects happen because a phone charging cable is used instead of a high-speed data cable. Standard charging cables lack proper shielding and drop connections the moment large transfers start.
-
Unplug the external SSD and inspect both ends of the USB-C port for lint or loose wobble.
-
Swap to the short, original USB-C cable included with your SSD, or use a certified 10Gbps or 20Gbps USB-C data cable.
-
Disconnect any unpowered USB hubs, multi-port dongles, or front-panel desktop adapters.
-
Plug the SSD directly into a primary USB-C or Thunderbolt port built into your laptop or rear motherboard panel.
Copy a 3GB to 5GB folder to the drive right away. If the transfer still stalls or drops, the issue sits inside Windows 11 power management or drivers.
2. Disable USB Root Hub Power Saving in Device Manager
Windows 11 permits individual USB controllers to enter low-power sleep states even while an external SSD remains mounted. Turning off this option prevents the controller from cutting power mid-session.
-
Right-click the Start button and select Device Manager.
-
Expand the Universal Serial Bus controllers section near the bottom.
-
Double-click USB Root Hub (USB 3.0) and open the Power Management tab.
-
Uncheck Allow the computer to turn off this device to save power, then click OK.
-
Repeat Step 3 and Step 4 for every USB Root Hub, Generic USB Hub, and USB Host Controller entry that displays a Power Management tab.
Restart your PC after updating every hub entry. Next, disable system-wide USB suspension inside your Windows power plan.
3. Turn Off USB Selective Suspend in Power Options
Even after adjusting Device Manager, the active Windows power plan can still suspend idle USB ports—especially when your laptop runs on battery power. Disabling selective suspend keeps steady voltage flowing to the USB-C port.
-
Press Win + R, type
powercfg.cpl, and click OK to open Power Options. -
Click Change plan settings next to your active power plan.
-
Select Change advanced power settings to open the settings tree.
-
Expand USB settings > USB selective suspend setting.
-
Set On battery to Disabled and set Plugged in to Disabled.
-
Click Apply and OK to save the changes.
Additionally, open Settings > System > Power & battery and change Power mode to Balanced or Best performance while moving large video or backup files. Aggressive battery-saver modes throttle PCIe and USB bus power on modern thin laptops.
4. Reinstall USB-C Host Controllers and Update Chipset Drivers
If your SSD drops out only under heavy write speeds or after a recent Windows 11 update, your USB-C or USB4 host controller driver may be out of sync with the system chipset.
-
Right-click the Start button and open Device Manager.
-
Expand Universal Serial Bus controllers and look for Intel(R) USB 3.1/3.2 eXtensible Host Controller, AMD USB 3.10 eXtensible Host Controller, or USB4 Host Router.
-
Right-click the controller, select Uninstall device, and click Uninstall. Do not check the box to delete driver software if prompted.
-
Restart your laptop so Windows rebuilds a fresh USB controller configuration automatically.
-
Next, open Settings > Windows Update > Advanced options > Optional updates.
-
Expand Driver updates, install any pending Chipset, Thunderbolt, or USB updates, and reboot again.
If Windows Update lists nothing new, visit your laptop or motherboard manufacturer’s official support page and install the latest chipset driver package directly.
5. Adjust the SSD Removal Policy and Assign a Fixed Drive Letter
Windows handles external storage caching using one of two policies. If your SSD was switched to Better performance, unexpected power dips can break the write cache and force an immediate disconnect.
-
Plug in your external SSD, right-click the Start button, and open Device Manager.
-
Expand Disk drives, right-click your external SSD, and select Properties.
-
Switch to the Policies tab and select Quick removal (default), then click OK.
-
Next, right-click Start and open Disk Management.
-
Right-click your external SSD partition and select Change Drive Letter and Paths.
-
Click Change, pick a higher unused letter such as M: or S:, and click OK.
Assigning a fixed higher drive letter stops Windows from reassigning the SSD path whenever you plug in other flash drives or SD cards.
6. Update the SSD Firmware and Repair File System Errors
Portable SSD brands regularly release firmware patches to fix USB-C sleep bugs and Windows 11 compatibility glitches. Furthermore, earlier unexpected disconnects often leave minor NTFS or exFAT index errors that trigger fresh dropouts.
-
Download the official companion utility for your drive brand, such as Samsung Magician, SanDisk Dashboard, or Crucial Storage Executive, and check for a Firmware Update.
-
Install any available firmware update while your laptop stays plugged into wall power.
-
Next, right-click the Start button and choose Terminal (Admin).
-
Type
chkdsk M: /f(replace M with your external SSD’s drive letter) and press Enter. -
Wait for the scan to repair any damaged file indexes, then restart your PC.
Once your system boots back up, copy a single 10GB file to the external SSD and monitor the transfer speed inside File Explorer. Keep your laptop plugged into AC power during heavy backups and always click Safely Remove Hardware and Eject Media from the taskbar tray before unplugging the USB-C cable so the drive’s file table stays clean.